Improving UI/UX of Pods back-end
People love the back-end UI/UX of the Advanced Custom Fields plug-in. All fields can be positioned and CSS assigned individually. Pods is in its base foundation a bit straight forward. But a little improvements can be achieved bij the use of the action hook ‘pods_group_add’.
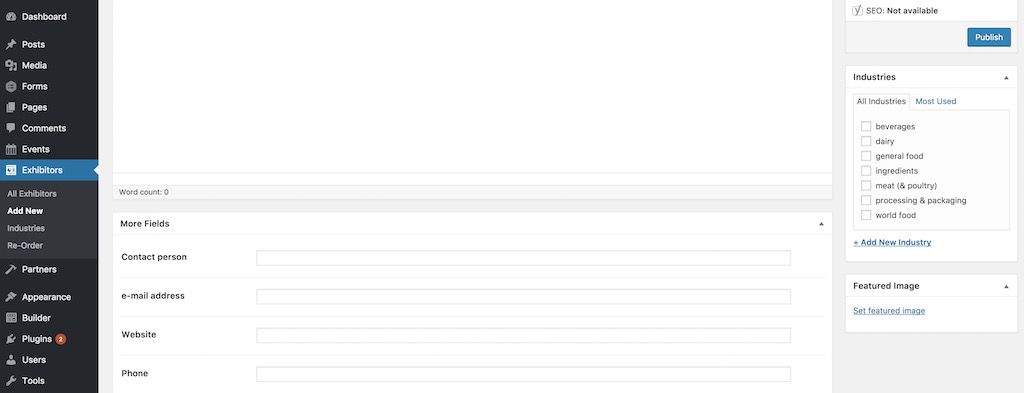
 All fields added in Pods will be shown in just one block called ‘More Fields’. They will just apear in the sequence in which the fields are added to the Pod. You can change the sequence just by dragging&dropping the fields in the requested order, so that the fields appear in a logical order for the enduser to enter or edit the fieldvalues.
ACF
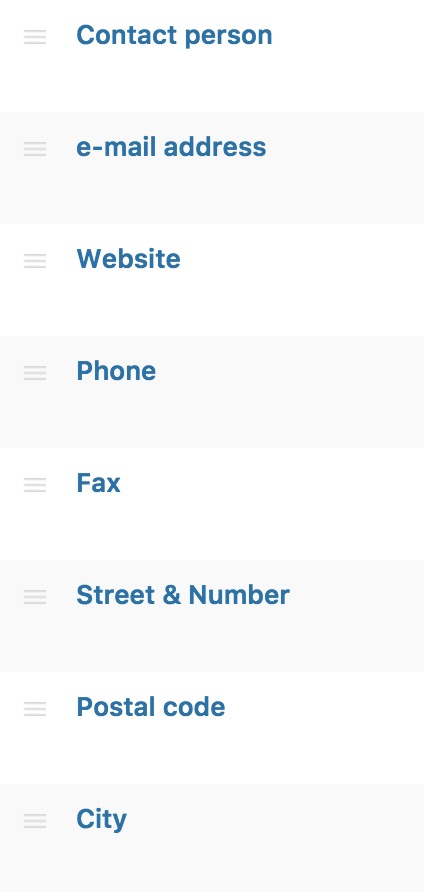
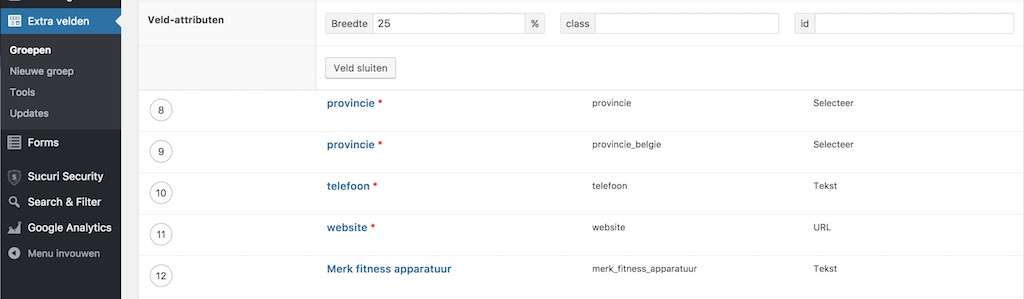
In ACF fields in the back-end appear in the same way under each other like in Pods and they can also be ‘shifted’ in their positions (drag the fields by clicking in the ‘number circle’ on the left in the fields list. However ACF offers a nice feature to put field on horizontal level next to each other, depending on the width you assign to the fields. In ‘field attributes’ you can define the width, but also use a class or ID for additional CSS settings.
Change the one block approach in Pods
As shown above, Pods shows all fields in one sequence under each other in a block called ‘More Fields’. A relative easy way to split all fields up in various sections can be done with writing a ‘little’ hook in functions.php in your (child)theme. The Pods developers already defined ‘pods_group_add’, which needs to get some parameters to makes seperate field areas and giving these areas useful names, compared to just ‘More Fields’.
// Make various field blocks in the backend.
add_action('pods_meta_groups', 'backend_structure', 10, 2);
function backend_structure($type, $name) {
pods_group_add('event', 'Location Details', 'event_location, street_number, postal_code, city, country, website_location');
pods_group_add('event', 'Event Details', 'website_event, event_logo, event_slides, event_background_image, event_start_date, event_end_date, opening_details, number_of_visitors, number_of_exhibitors, number_of_countries, surface, exhibitors, video');
pods_group_add('event', 'Booking Details', 'more_information_form, booking-form');
}
How this works
The usal stuff in the first two lines ti ‘initiate’ the creation of the hook. The most important part are the lines which begin with ‘pods_group_add’. First you need to define the Pod (the CPT) you want to use in a seperate block in the back-end. In this case we use the CPT ‘event’. The second parameter is the name you want to use, replacing ‘More Fields’.
Beware of the fact that when you do this, you have the oblication to define all fields in the new blocks.
There will not be a ‘More Fields’ block after you use a couple of fields in one block. You need the define them all in their own blocks. So in our exzample we created three blocks. Aftre the name of the block, all fields must be inserted (comma separated).
Final result
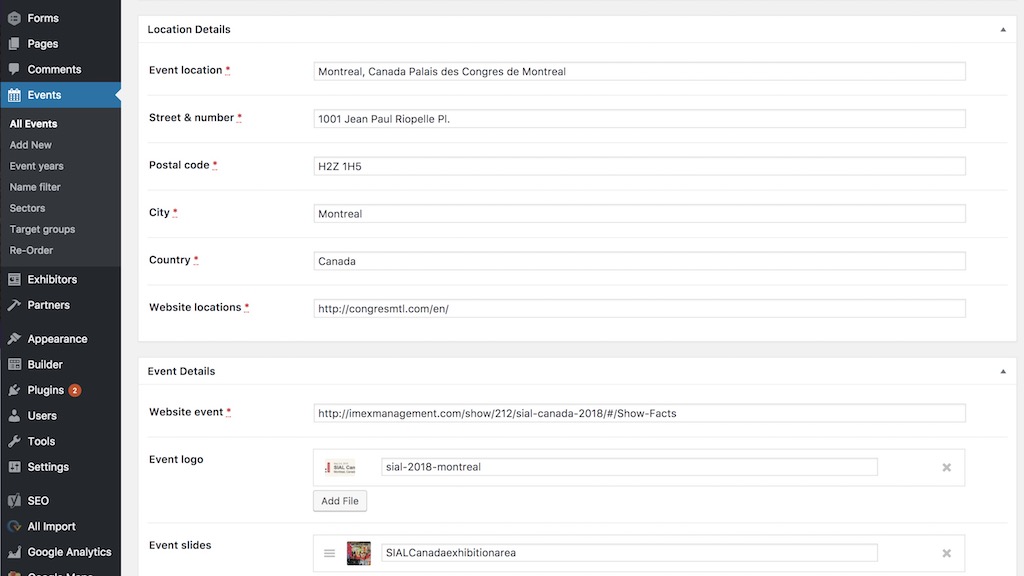
In the screenshot above we show ‘Location Details’ and ‘Event Details’ as two separated blocks for using the fields defined in Pods. In that way your customer will be guided a bit better through the various fieldsections needed to fill the CPT record. Unfortunatly we did not find a way yet to use the width of a field yet, to have the same look&feel like in ACF. But we think this one was already a great improvement of the UI/UX in the Pods backend. More information and other parameters which can be used in the hook above, look at the Pods documentation. You could for example position the block at certain places and even in the sidebar of the back-end area.